Reach Your Learners Loud and Clear with Smart Audio Recording Practices

How this will help
In online courses, audio quality plays a major role in how students engage with and understand course material. When audio is muffled, distorted, or inconsistent, learners must spend extra effort to hear the content rather than focusing on the ideas being presented. Clear, high-fidelity audio improves comprehension, reduces listener fatigue, and makes course recordings more accessible for a wider range of learners.
A quick search for audio recording equipment can send you down countless paths, from budget-friendly starter setups to incredibly expensive professional equipment. The internet is overflowing with gear recommendations, reviews, and conflicting advice, which can make getting started feel overwhelming.
The good news is that achieving professional-sounding audio doesn’t require a production studio or a room full of high-end equipment. If you have some experience recording audio for your courses, you can level up the quality of your audio by choosing the right essentials, properly setting up your recording space, and making a few technical adjustments.
What Makes Sound High-Fidelity?
Before exploring equipment and setup techniques, it helps to understand what high-fidelity audio actually means and what you’re trying to achieve in a recording.
High-fidelity sound simply means audio that is reproduced as accurately and cleanly as possible. A high-fidelity recording captures the full range of frequencies, from deep low-end bass to crisp high-end detail, without unwanted noise or distortion. It preserves the dynamics of a recording so the playback feels natural and true to the original source.
In an educational context, high-fidelity sound ensures that students can clearly hear explanations, terminology, and subtle changes in tone that convey emphasis or meaning. Better audio quality can improve student engagement, support accessibility for learners using assistive technologies, and reduce the frustration that often comes with poorly recorded lectures.
Fortunately, achieving this level of clarity doesn’t require complex studio setups. A few key decisions about equipment, environment, and recording technique can dramatically improve the quality of your audio.
Choosing the Right Microphone
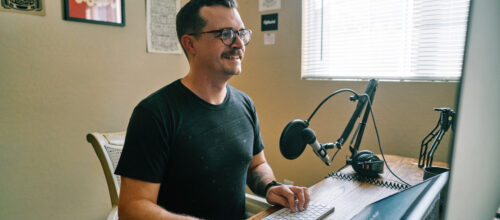
One of the most important decisions in any recording setup is choosing the right microphone. Different types of microphones vary in cost, ease of use, and sound quality. The following options represent common choices for faculty instructional content. You don’t need the most expensive option, but a reliable microphone from a reputable brand will make a huge difference.
| MICROPHONE | PROS | CONS |
| Internal Smartphone Microphone | – Use personal device – On board voice memos app | – Audio recorded during video often sounds different because the phone is positioned farther away – Smartphone needs to be close to your mouth – A quiet environment is required |
| USB Microphone | – Easy to use – Plugs into computer – Doesn’t require separate hardware | – Smaller, lower-quality internal preamplifiers – Higher noise level – Higher likelihood of audio distortion – Limited control |
| Lavalier (lapel) Microphone | – Small, clip-on microphones which are commonly used for video lectures, interviews, and presentations – Come in several forms, and some plug directly into smartphones, computers, or portable recorders, while others use Bluetooth or can connect via XLR to an audio interface – Because they sit close to the mouth, they capture consistent audio even if you move around | – Fragile and less durable than other options – Requires a collared shirt and precise placement just above your sternum – Limitations based on the form factor you choose |
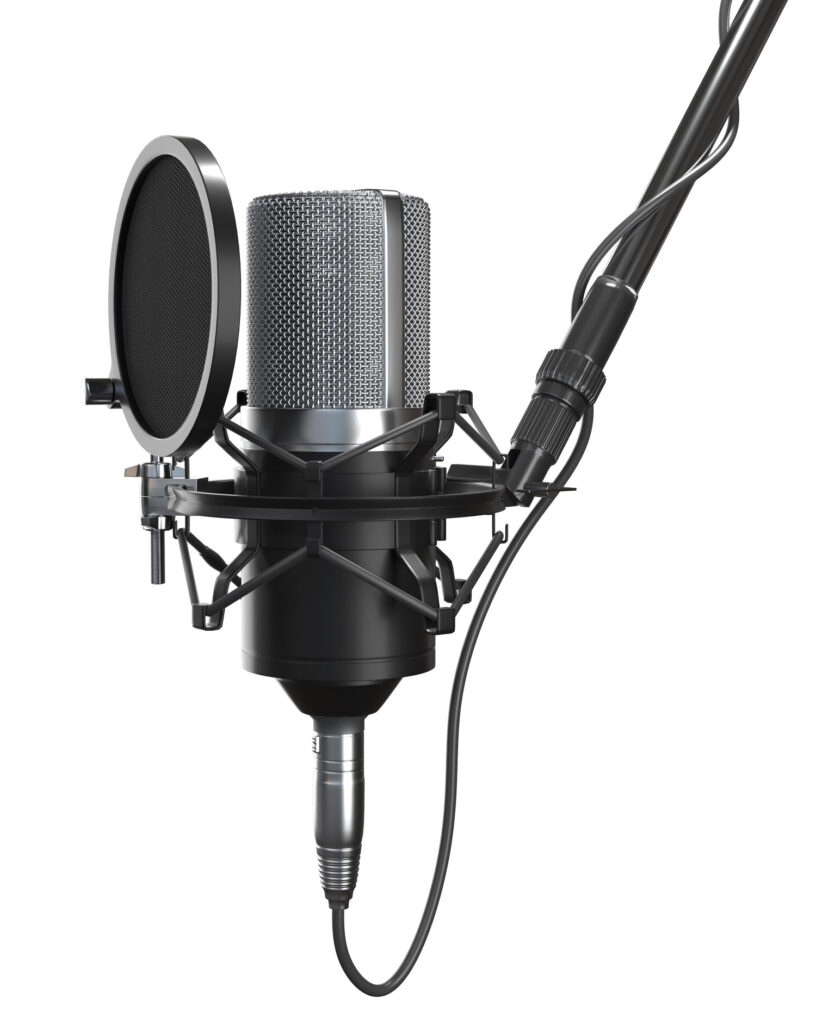
| Professional Dynamic XLR Microphone with an Audio Interface | – The most flexible and highest-quality option – This setup provides clearer audio and more precise control over your recording levels – Delivers the best overall fidelity | – Require an external audio interface, which converts the analog signal into digital audio for your computer – Requires a larger upfront investment |
The Right Environment
- Control Your Recording Space: The room matters more than most people think. Record in a quiet space away from traffic, appliances, and HVAC noise. Soft furnishings like rugs, couches, and even blankets can reduce reflections and echo. If possible, add acoustic panels or DIY wall treatments at reflection points to tighten your sound.
- Position the Microphone Correctly: Mic placement dramatically affects tone. For vocals, start 6 to 12 inches away and adjust slightly off-axis to reduce harshness and plosives (pops). Small adjustments can make a big difference.
- Use a Pop Filter or Windscreen: This minimizes plosive sounds (“P” and “B” bursts) and keeps your recording clean without needing heavy editing later.
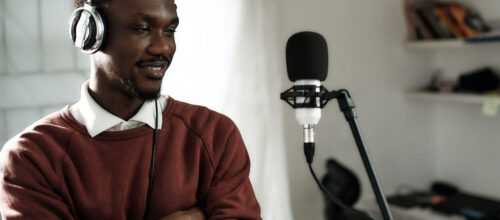
- Monitor with Headphones: Over-ear headphones help you catch background noise, distortion, or mouth sounds before they become a problem.
- Focus on Performance and Technique: Clear diction, consistent mic distance, and controlled dynamics often matter.
Let’s Get Technical
Once your physical recording setup is in place, a few basic technical settings can further improve your recording quality and prevent common audio issues. While these steps are not necessary for every setup, they are helpful if you have access to recording software or want more control over your audio quality. You can source this information through free and paid apps, some of which may come with your computer or smartphone, or are packaged with the microphone you selected.
- Set Proper Gain Levels (Gain Staging): Avoid recording too hot. Aim for peaks around -12 dB to -6 dB to prevent clipping while preserving dynamic range.
- Record at Appropriate Settings: Use at least 24-bit depth and 44.1 kHz or 48 kHz sample rate for clean, professional-quality recordings.
- Edit Gently: Use EQ, compression, and noise reduction sparingly. High-fidelity audio should sound natural, not over-processed.
High-fidelity audio doesn’t require a professional recording studio, just a thoughtful approach to equipment, environment, your audience, and technique. By choosing an appropriate microphone, controlling your recording environment, and using a few simple technical best practices, faculty can produce clear, high-fidelity audio that enhances the online learning experience. Even small improvements in sound quality can make a meaningful difference in student engagement and comprehension.
And that’s it. With a few thoughtful choices and simple best practices, anyone can produce clear, high-fidelity recordings, and it will make a meaningful difference in the learning experience you produce.
Resources
Finally, if you’d like to explore these ideas further, the following resources can help you continue to improve the learning experiences you’re creating.
Level Up Your Multimedia Presentations with Simple Design Concepts