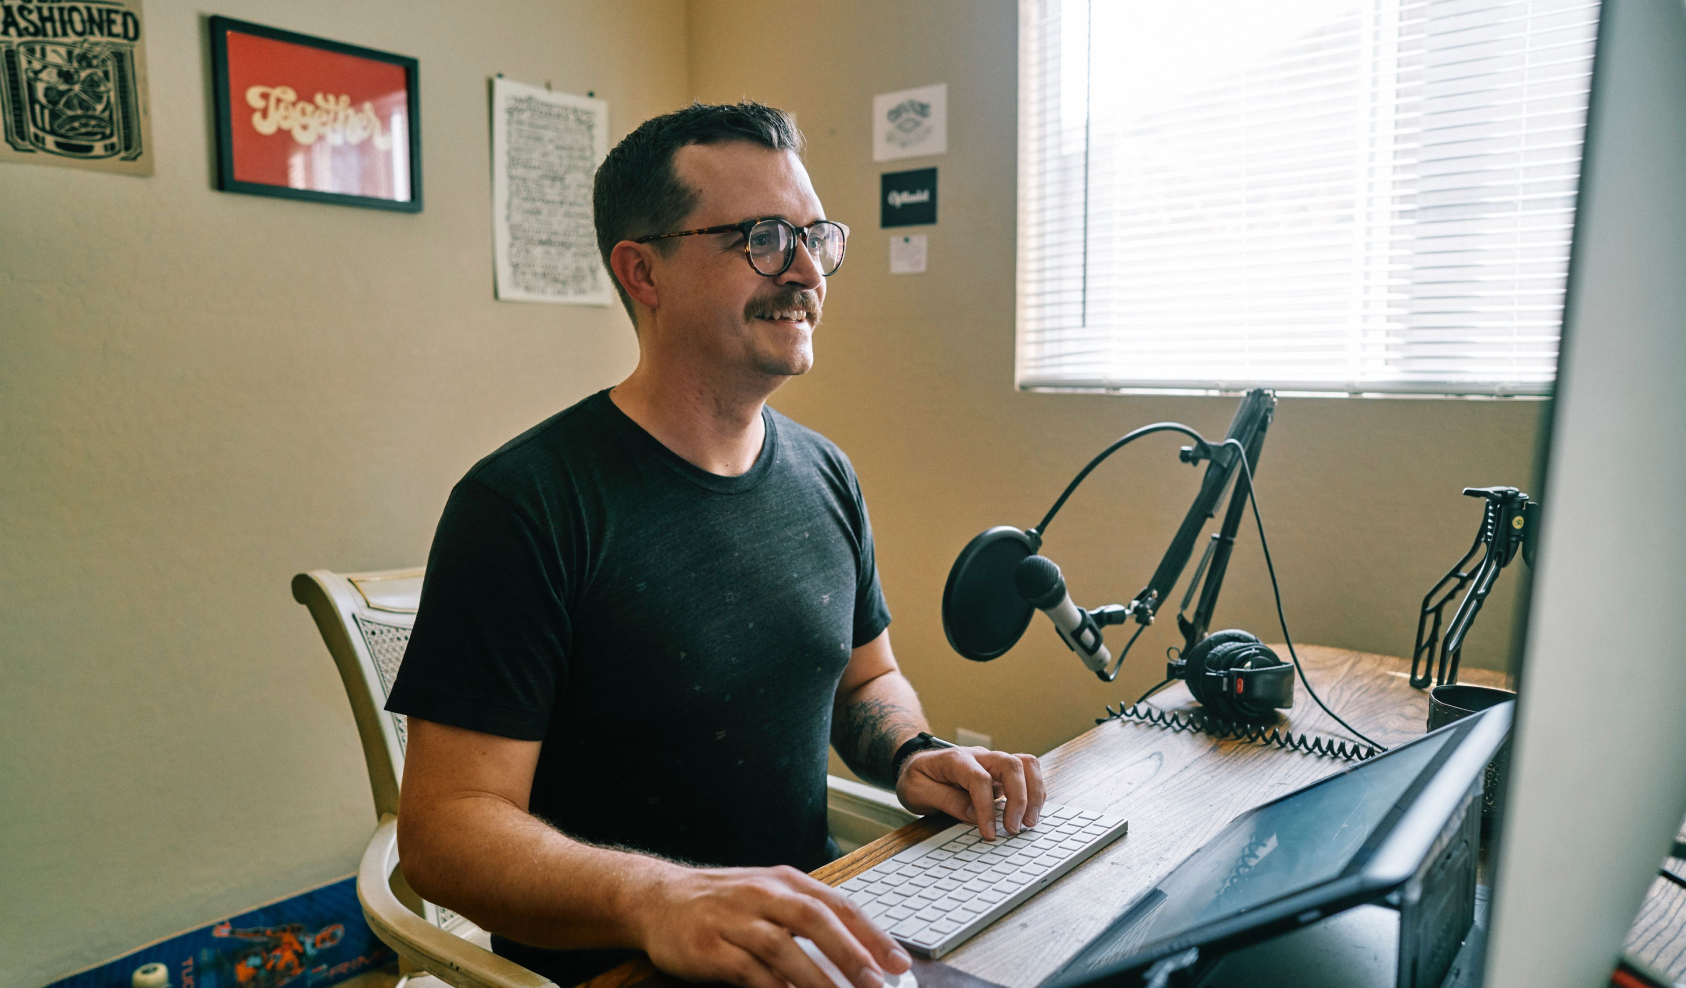
Preparing Your Home Studio or Office for Online Teaching

How this will help
Just as you would set up your face-to-face classroom prior to the start of each class, it is equally important to do the same for your online class. Appearance, sound, and visual aspects of video correspondence significantly impact how information is delivered and received. These recommendations will help make your lecture recordings and video conferences better for all students.
Camera Readiness
Many people are uncomfortable seeing themselves on camera. Some small tips can make a big difference in how you appear to your audience. Busy attire like small repeating stripes or bold patterns can be distracting, so consider what you are wearing. You may also want to evaluate if any jewelry you are wearing could create distractions or unnecessary noises in your video.
Sound
Sound is arguably the most important part of any media – live or recorded! If you have any time to invest, make sure students can hear what you are saying. When preparing your home studio or office for online teaching, take the time to explore how sound carries in your space. A common issue that must be mitigated is reverberation, or echo. It is important to reduce reverberation as much as possible to ensure that your voice is clear to your students. One tactic for lessening the echo in your space is to use soft fabrics, such as towels or blankets. Since hard surfaces such as walls, floors, and windows enhance reverberation, consider covering them with heavy curtains, rugs, and quilts. These softer materials will absorb the sound and provide better acoustics for your space.
Many computers and laptops are enabled with built-in microphones, though you may use a headset or lavalier microphone. Consider where the microphone is placed and how it may impact your delivery. Best practice for microphone placement is at least 12” from the mouth and out of camera view. This position prevents the face from being blocked and avoids breath noise interference. Keep an eye out for unwanted noise such as keyboard sounds, rubbing the microphone cable, or banging on the desk area. If it’s possible, reduce outside noises such as HVAC or other mechanical sounds, as they create distractions from your video. Other distracting noises can be created by phones, fans, or house pets as well. Plan to test these variables prior to your official recording session.
Lastly, there are several benefits to using headphones while you record. Your participants may be using headphones to listen in, so it is recommended that you review a sample recording as a sound check with them as well. Consider using headphones or earbuds throughout your session to ensure you can successfully hear what participants are saying. Remember that traditional computer speakers tend to ruin sound by bleeding noise into the microphone.
Lighting
Have you ever taken a picture and it came out too dark or washed out? This is all due to light exposure! To prevent your face from showing up too dark on camera, avoid sitting with a bright light or window behind you. Since the backlight is typically brighter than your face, it can create shadows and reduce the appearance of light from the eyes. If you are interested in learning more technical tips on temperatures of light and production, check out “How to Shoot Professional Video Interviews”.
Webcams and Framing
Setting the scene is vital to a successful video. Body location and perspective can dramatically change how the video is received by the audience. While you probably don’t want all your videos to be a talking head, we all want to look our best onscreen. Start by looking at the position of your computer’s camera. Being too close to the camera can feel like an invasion of personal space for viewers. If you are using a laptop, perhaps try propping the computer up on a couple of books to align the camera with your eyes. Take note of how much space is around your head as well. Extra space can make a person look very short, while cutting off part of the head can give the illusion of cramped space. One last step is determining a background. The goal of a great background is to give depth to the video without distracting from the speaker. Textures, shadows, and plants can all be used rather than flat backdrops. However, be careful of what types of objects you place behind you. Books, phones, art, and other detailed items will have the learners’ focus instead of the course content.
Practical Tips
When you view yourself on camera, ask yourself the following questions:
- Am I centered on the screen?
- Are my eyes level with the camera?
- Do I notice any background distractions?
- Am I too close or too far from the camera?
Resources
Other Resources
Epiphan’s 5 Steps to Creating the Ultimate Lecture Recording Studio
Research
Mader, C., Ming, K. (2015). Videoconferencing: A New Opportunity to Facilitate Learning. The Clearing House, 88(4), 109–116.

